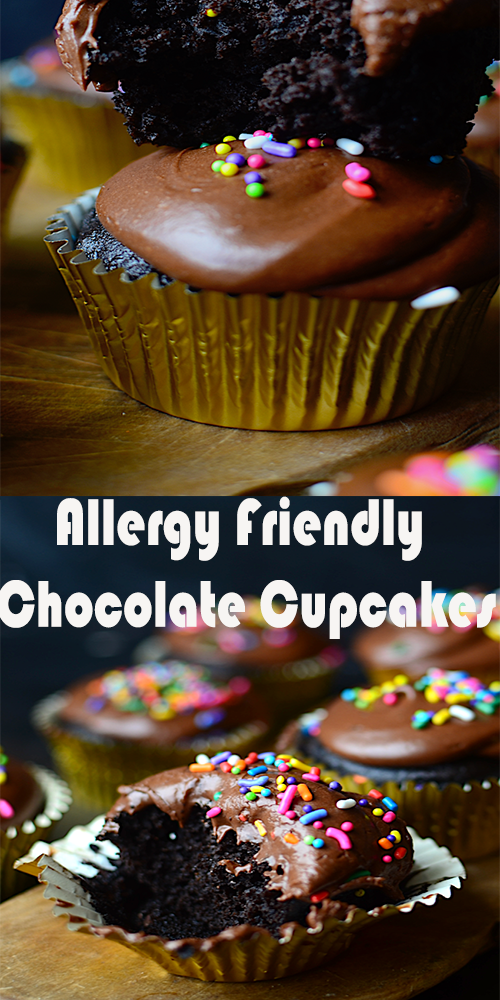
 My future (in 8 days!!) sister-in-law and I spent a couple of days in the last few weeks making about a couple hundred cupcakes for her wedding and freezing them.
My poor, celiac mouth watered as I surveyed them all lined up like an army across my kitchen counters.
“Aren’t there a few other gluten free people coming to the wedding?” I asked, with all the nonchalance I could muster.
“Yeah, I think so,” said the bride.
“Oh,” I said, “and what about…” I racked my brain, “Milk allergies! I know there are some of those people coming.”
“Yeah, I think you’re right.”
“One of our nephews has a peanut allergy!”
“Ok.”
“So I was wondering,” I said, casually flicking a dried up piece of frosting off of my shirt, “Do you think maybe I should make a couple dozen cupcakes for the allergy people, or…..?”
“Oh sure, good idea!”
I really wasn’t entirely thinking of myself. I simply know firsthand how it is when you are sadly strolling by the dessert table, knowing that none of it is for you, when suddenly you find a small plate of crumbling, dry desserts and almost cry for joy. We beggars can’t be choosers.
This time though, I wanted my comrades (and myself) to have the best
So I set to work. I made these cupcakes gluten, dairy, and nut free, but they can also easily be egg free, so I’ve included some notes in the recipe below if you need egg free too. These are great for making a dessert for a wedding, graduation, or other large party when you aren’t even sure what allergies will be attending. Just make sure you put a big sign warning all those “normal people” to keep their hands off.
- Allergy Friendly Chocolate Cupcakes
- Makes 3 dozen
- For the Cupcakes:
- (based on this King Arthur recipe)
- 2 cups gluten free all-purpose flour mix (I used this mix. If you don’t need them to be gluten free, you can substitute cake flour)
- 1 1/2 teaspoons baking powder
- 1/2 teaspoon baking soda
- 1/2 teaspoon salt
- 3/4 cup cocoa powder (I used Hershey’s Special Dark, which gives a great texture and flavor, but you can also just use regular cocoa powder)
- 1 3/4 cup granulated sugar
- 1/2 cup coconut oil, vegetable shortening, or lard (I used coconut oil this time, you can also use butter if you don’t need it dairy free)
- 1/3 cup vegetable oil
- 1 teaspoon vanilla
- 1 cup dairy free milk or water (I used water, but would have used coconut milk if I had had it)
- 1/2 cup brewed, cooled coffee or water
- 1/4 cup ground flaxseed mixed with 3/4 cup hot water and stirred until gelatinous (or 4 large eggs if you don’t need it egg free)
- Preheat panggangan to 350ºF. Line muffin tin with cupcake liners.
- Mix the flour, baking powder, baking soda, salt, cocoa, and sugar with your hand mixer or stand mixer.
- Add the coconut oil or lard and mix for about a minute. Add the vegetable oil and continue mixing until the mixture looks like wet sand.
- Combine the milk, coffee or water, and vanilla and add all at once. Beat for about 30 seconds.
- Add the eggs one at a time (or add flax mixture slowly), beating well between additions. Fill tins 1/2 full. Bake about 15 minutes or until toothpick comes out clean. Cool before frosting.
- For the Frosting:
- 1/2 cup dairy free margarine or butter flavored shortening (use butter if not doing dairy free)
- 2/3 cup cocoa (I did not use the dark cocoa for the frosting, just regular)
- 4 cups powdered sugar (or more for desired consistency)
- 1/3 cup dairy free milk, brewed coffee, or water (or more for desired consistency)
- 1 teaspoon vanilla extract
- 1 1/2 cups marshmallow fluff (optional, only for if you aren’t doing egg free, which I wasn’t)
- Combine the dairy free margarine or shortening and cocoa in a microwave safe bowl or in a small pot on the stove and heat until melted. Stir well.
- Alternately add the powdered sugar and whatever liquid you are using, beating well after each addition. Add the vanilla, then add the marshmallow fluff, if using (as I said, it is not egg free, but the frosting is still perfectly good if you leave it out).
- If the frosting is thinner than you’d like, add more powdered sugar 1/2 cup at a time, if it is thicker than you’d like, add one tablespoon of additional liquid at a time.